In this guide
- First define the transfer direction
- A bank transfer has three checkpoints
- Eligibility comes before interface troubleshooting
- A pre-submission worksheet
- Keep submission and settlement separate
- When the destination does not show the money
- Avoid creating a second problem while investigating
- The answer this guide can and cannot provide
A Fintwist card-to-bank question has three parts: is the account eligible, was a transfer actually submitted, and did the receiving bank credit it? Corpay Prepaid’s current consumer page makes bank-transfer access conditional on passing its Customer Identification Process. It does not publish one universal completion time or operating limit for every account on that page. Provider: bank-transfer condition
Treat those three parts separately. A card that can receive wages is not, by that fact alone, proof of transfer eligibility. A filled-out screen is not a submitted instruction. A submitted instruction is not a completed credit at the destination. This article explains how to identify the missing evidence without pretending to inspect or operate your account.
First define the transfer direction
“Direct deposit” is sometimes used informally for several movements of money. For this guide, incoming payroll means money sent by an employer into the account. Card-to-bank transfer means money leaving the card account for a separate bank account. These labels describe direction so that a support question is not misunderstood.
If you are trying to redirect future wages, the task may belong in the employer’s payroll process rather than in the card app. If you are trying to move funds already in the card account, changing future payroll instructions does not by itself move those existing funds. Our missing-paycheck guide owns the incoming-payment question.
Likewise, using a card to pay a merchant is not the same as entering a bank transfer. Name the destination and the method when asking for help. This avoids receiving instructions for a different product feature simply because both actions are colloquially described as sending money.
WATCH & UNDERSTAND · 36 SECONDS
A bank transfer has three checkpoints
Original visual explainer · silent · no autoplay
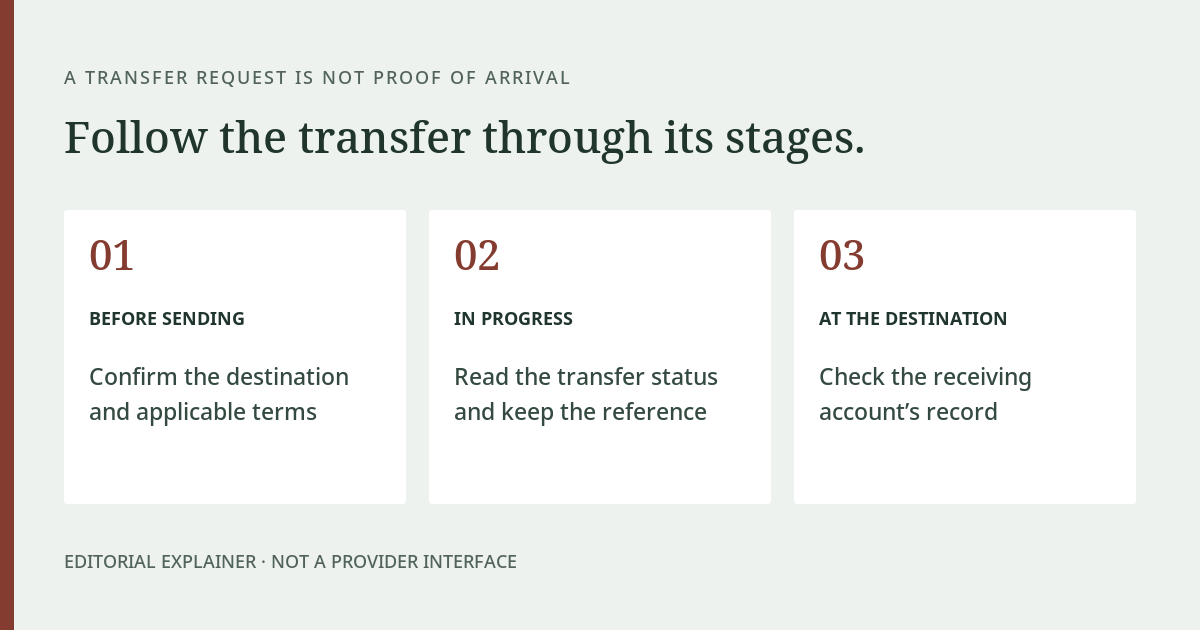
Distinguish transfer eligibility, a submitted instruction and receipt at the destination. The visual does not promise a fee, limit or processing time. This is an editorial illustration, not a provider tutorial or a recording of an account. Video files are served by this website.
Read the full video explanation
- Separate three checkpoints: whether the account can use bank transfers, whether an instruction was accepted, and whether the destination received a credit.
- Check your program and the provider’s applicable identification requirements. Receiving wages does not, on its own, establish transfer eligibility. Use only the provider’s official verification process.
- A form with details entered is not a completed submission. Review the actual confirmation and keep the reference without sharing private bank details with this publication.
- Keep a transfer’s status distinct from receipt at the receiving bank. Use the estimate and terms for the actual instruction. This explainer promises no universal fee, limit or delivery time.
Source context: Corpay Prepaid: transfer features · Corpay Prepaid: verification and features. The visual arrangement and hypothetical examples are editorial explanations.
Eligibility comes before interface troubleshooting
The provider’s CIP explanation describes feature restrictions associated with identification status. It should not be read as a personal approval decision or as a promise that all cards without completed verification have the same capabilities. Provider: CIP and feature access
If the account lacks a transfer option, ask whether your issuer and employer program support it, and whether an account-specific requirement is outstanding. Do that before assuming a browser problem. Our issuer guide explains why the program and verification layers should be checked separately.
Supply verification information only through the provider’s established secure process. Do not upload identity documents to this publication, a social-media helper or a third-party “unlock” service. This article does not offer a way around verification and does not recommend testing another person’s account details.
A pre-submission worksheet
| Item | What to establish in your secure account or with authorized support |
|---|---|
| Source | The card account from which you intend to move your own funds |
| Destination | The bank account you intend to receive them, using the details required by the actual service |
| Amount | The requested amount and whether the account permits it |
| Cost | Any applicable charge for this specific transfer path |
| Timing | The estimate or terms shown for the instruction you are submitting |
| Confirmation | How the service records acceptance and how you can reference it later |
This worksheet intentionally contains no sample routing number or account number. An invented example is too easy to mistake for a usable instruction. Check the real destination details in a source controlled by your own bank and follow the card provider’s supported process.
Before confirming, read the summary as a whole. Correct destination details do not compensate for selecting the wrong amount, and sufficient funds do not establish that the destination is eligible. A transfer request is a specific instruction, not merely a general permission to connect two services.
Keep submission and settlement separate
A confirmation can establish that a system accepted an instruction without proving that the destination has credited the funds. Preserve the reference, the submission time, the amount and the status actually displayed. Do not substitute “completed” for another status because you expect the money to have arrived.
Nacha describes direct deposit as an ACH use case, but its general explanation is not an account-specific service-level promise for every transfer feature offered by a prepaid program. Use the timing supplied for your actual instruction. Nacha: direct deposit overview
This distinction is particularly important when reading an article that promises an exact hour or a universal number of days. Ask what product, transaction direction and agreement support that promise. The public sources used here do not establish a single Fintwist card-to-bank timetable that this publication can responsibly guarantee.
When the destination does not show the money
Start by checking whether the source account records an accepted instruction. If it does not, the question is whether submission occurred. If it does, record the displayed status and ask the source provider what that status means and what reference it can supply for follow-up.
Then compare the intended destination with the destination information attached to the instruction, using the secure records available to you. Do not publish bank details while asking strangers to identify a mistake. If you believe you entered incorrect details, promptly ask the provider about the supported response; do not assume a submitted transfer can always be cancelled or reversed.
A useful source-provider question is: “This instruction was submitted at this time and shows this status. What does the status establish, and what information should the receiving bank use to investigate?” A useful destination-bank question uses that confirmed reference rather than merely saying that another app shows a lower balance.
Avoid creating a second problem while investigating
Do not submit an additional transfer just because the first has not appeared where you expected. First establish the state of the original instruction. Otherwise, the investigation becomes harder: you may have two different requests, two sets of timestamps and a balance that no longer corresponds to the first event.
Keep incoming payroll out of that investigation unless it is directly relevant. A future employer deposit, an existing card balance and an outgoing transfer are separate records. Combining them under one complaint can hide the precise step that needs attention.
For suspected account errors, follow the provider’s reporting route rather than waiting for an editorial answer. The transaction-status article explains how to organize the record and distinguish an error report from a merchant refund. No publication can guarantee a transfer’s arrival or recovery without access to the authorized account process.
The answer this guide can and cannot provide
The guide can help you identify which evidence is missing: eligibility, acceptance or receipt. It cannot enable a restricted feature, validate account numbers, quote an unpublished limit or promise recovery of an incorrect transfer. Those are account-servicing questions.
Once you have the correct status, the next conversation becomes narrower and more useful. Instead of asking why “Fintwist transfers do not work,” you can ask why this eligible instruction has this status at this stage. That is the practical benefit of keeping the three questions separate.